
1. Overview
Java is a programming language owned by Oracle that was originally developed in 1995 by Sun Microsystems. In enterprises, web development, and the development of highly scalable solutions, Java is still the preferred development language.
Oracle contributes two flavors of Java: Oracle JDK and OpenJDK. Oracle JDK is a commercial product, while OpenJDK is an open-source alternative.
In this short tutorial, we’ll discuss ways of installing Java on macOS. For our example, we’ll install Oracle JDK via DMG package and OpenJDK via Homebrew package manager.
2. Manual Installation via DMG Package
The first way is installing Java with a DMG package (a disk image file). A DMG package acts as a virtual optical disc containing compressed software installation files and other data like bootable images.
Installing Java via a DMG package involves a few manual steps: opening the .dmg package and following the on-screen instructions to complete the installation process.
First, go to Oracle’s official site and download the dmg package. By default, the page lands on the Linux download tab, so we need to select the macOS tab and choose the correct dmg installer.
There are two types of dmg installers available: one for ARM chips for the latest Mac machines like M1 and M2, and one for older “x64” Macs with Intel chips.
For our example, we’ll install the x64 installer, although the steps are otherwise the same using the ARM installer:
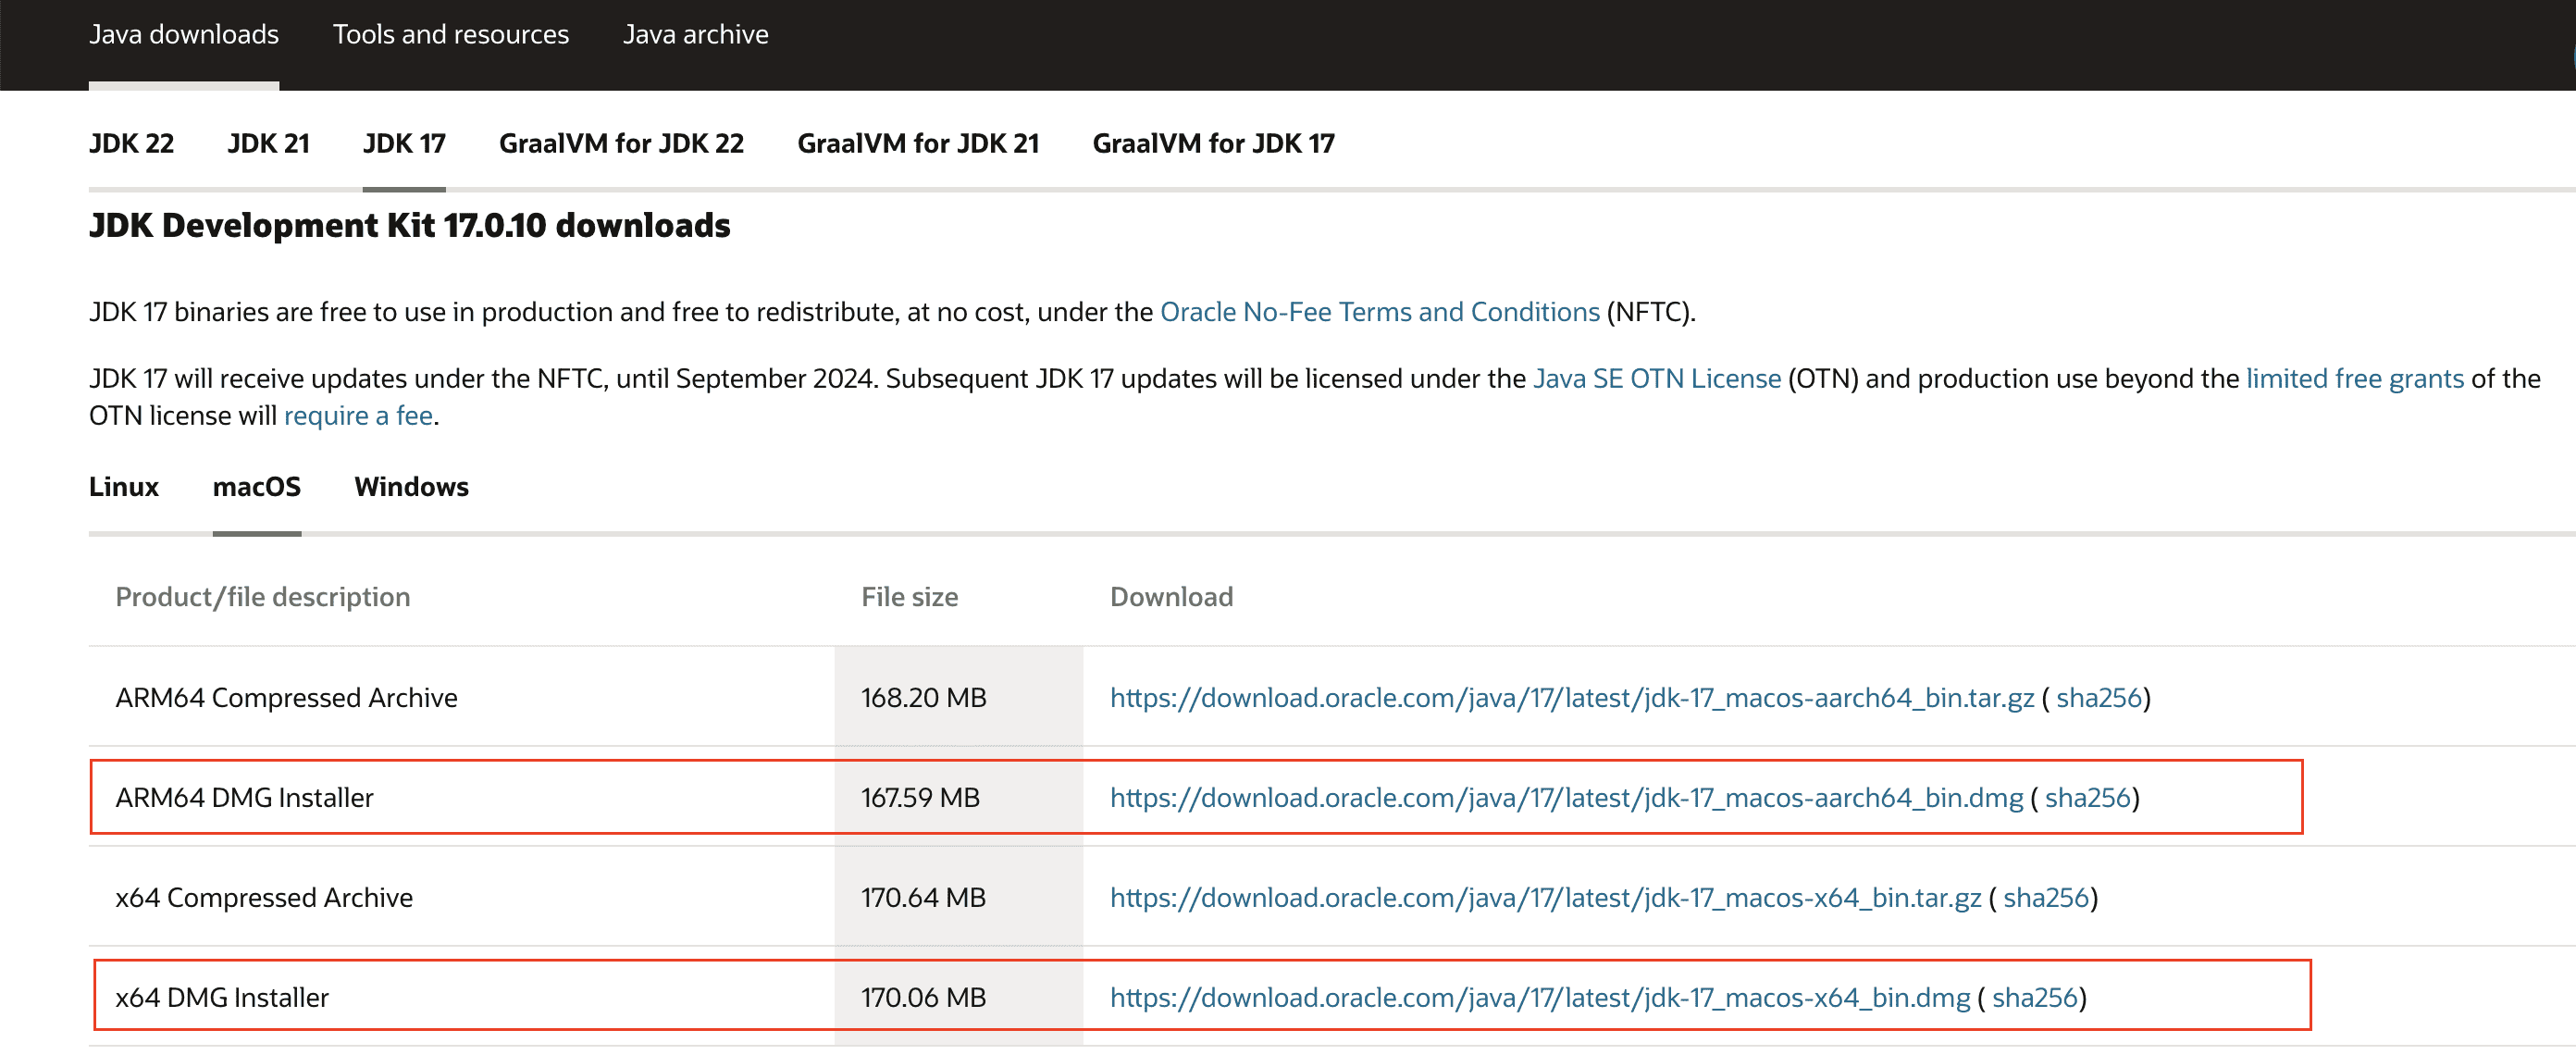
Once the download completes, let’s double-click the DMG file to launch the installer:

Furthermore, once the introduction tab opens, click Continue:
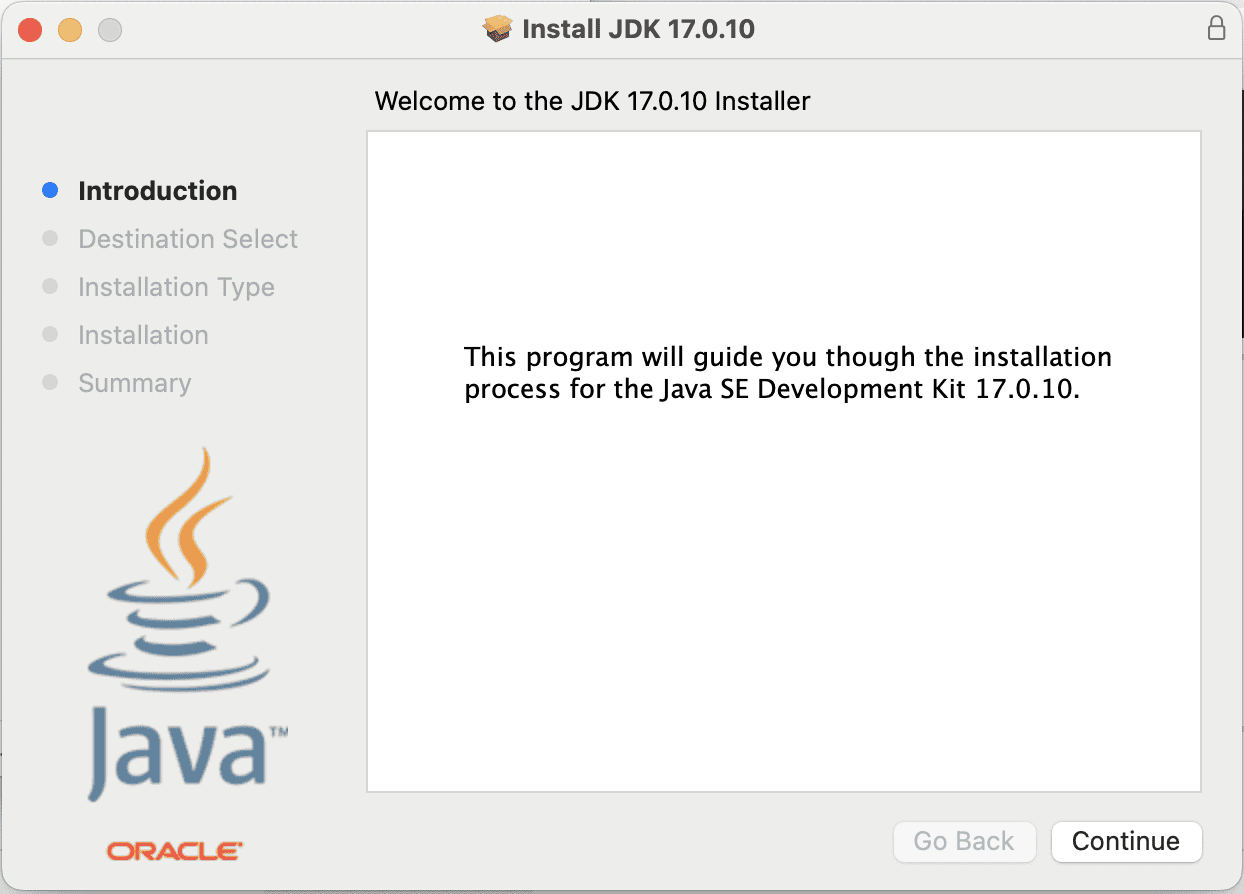
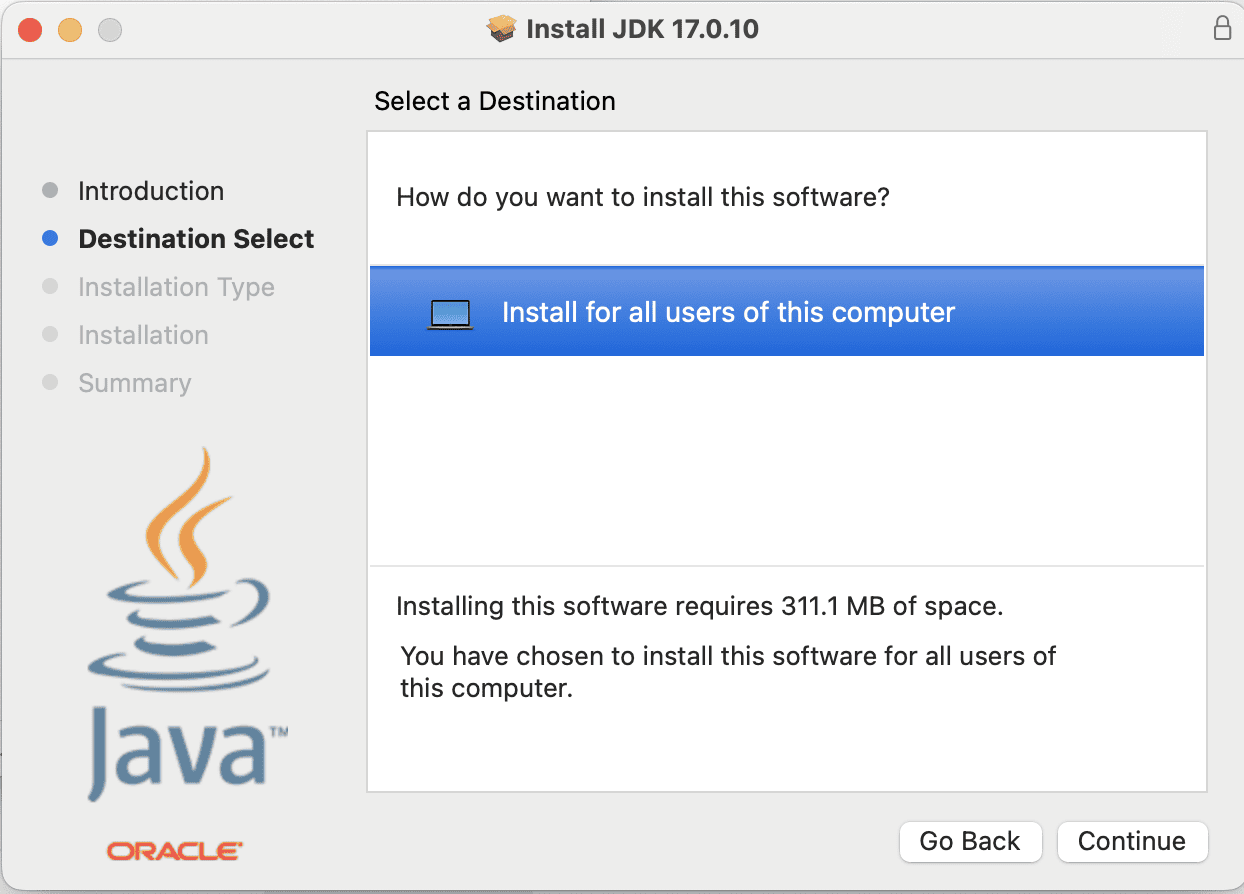
Click Continue on the destination select:
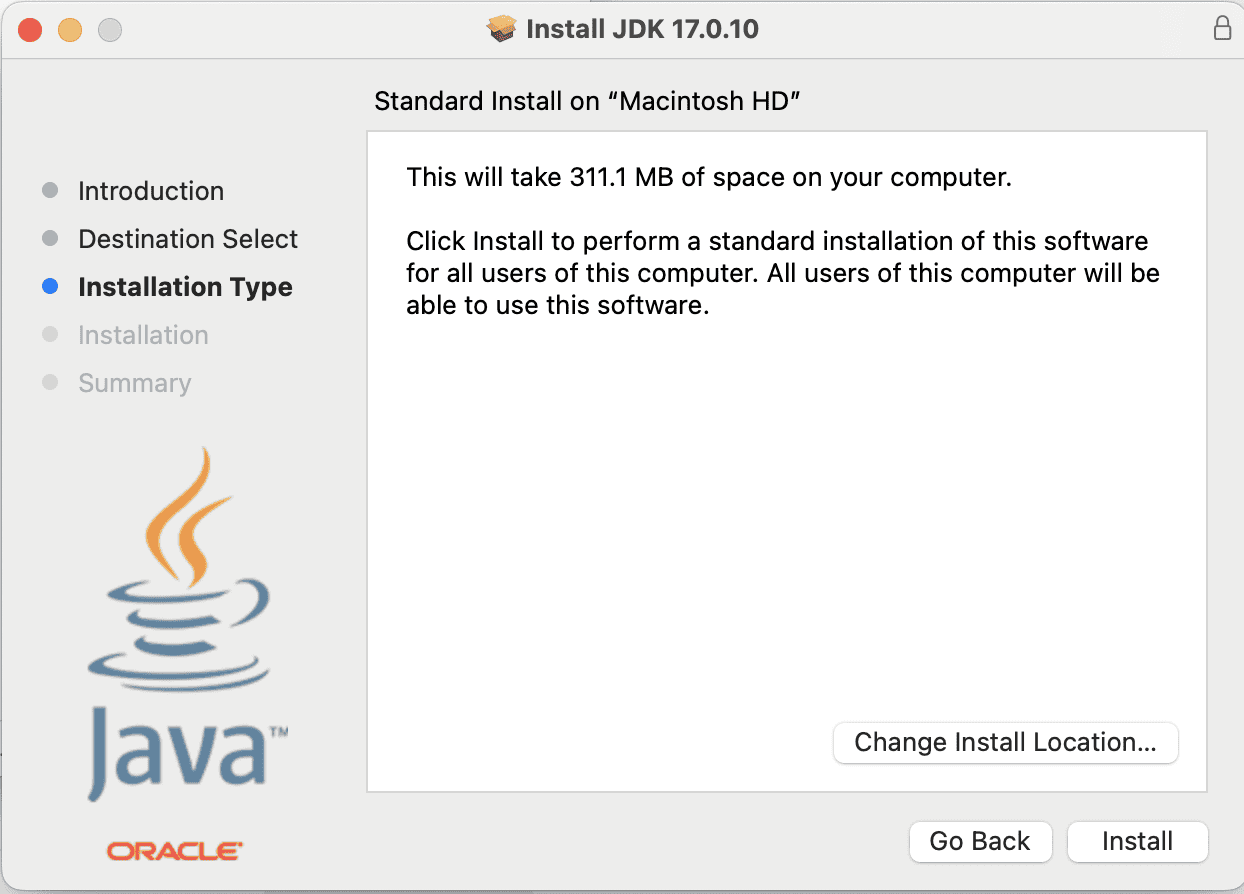
Now, click Install to start the installation process:
It will take a few minutes, so let it run:
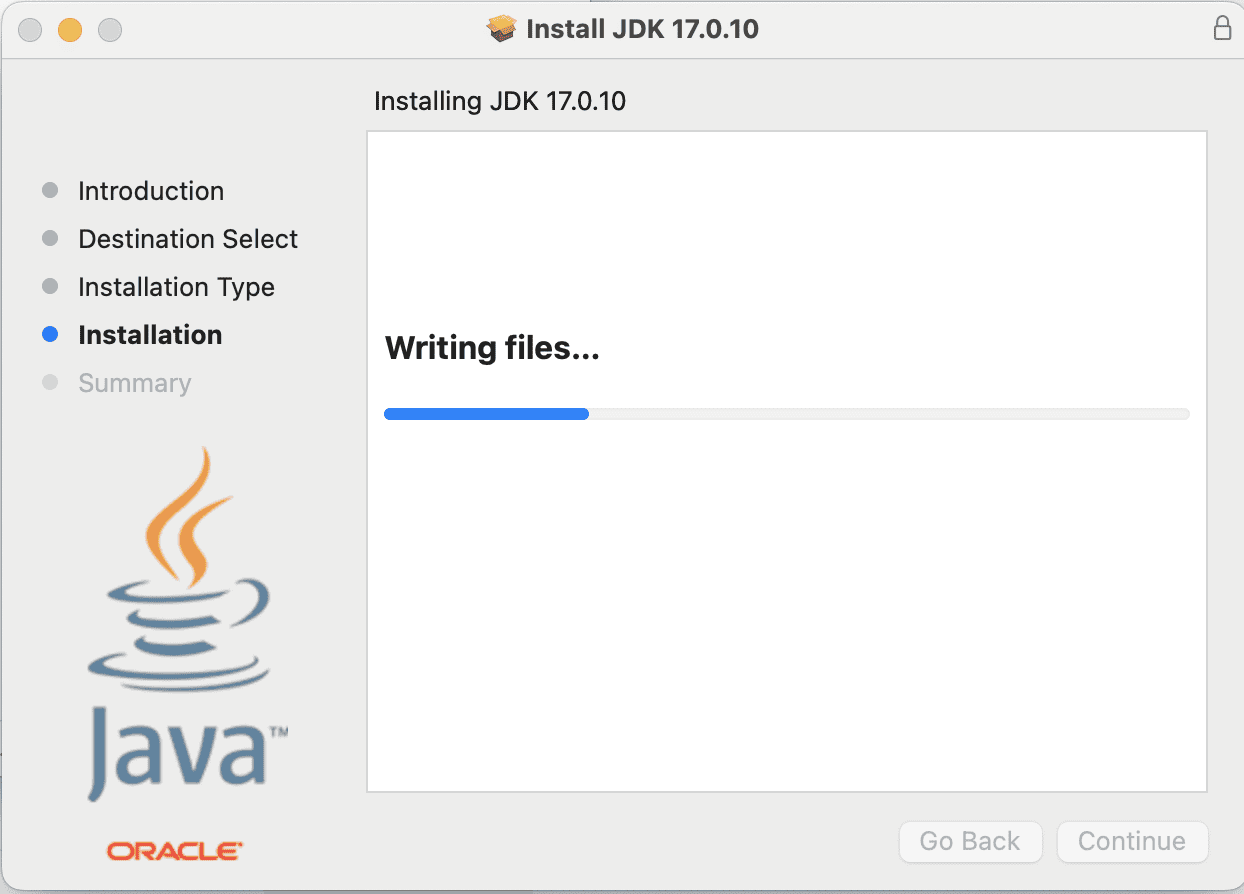
Now, once installation is complete, the Summary tab will be open. Click on the Close button:
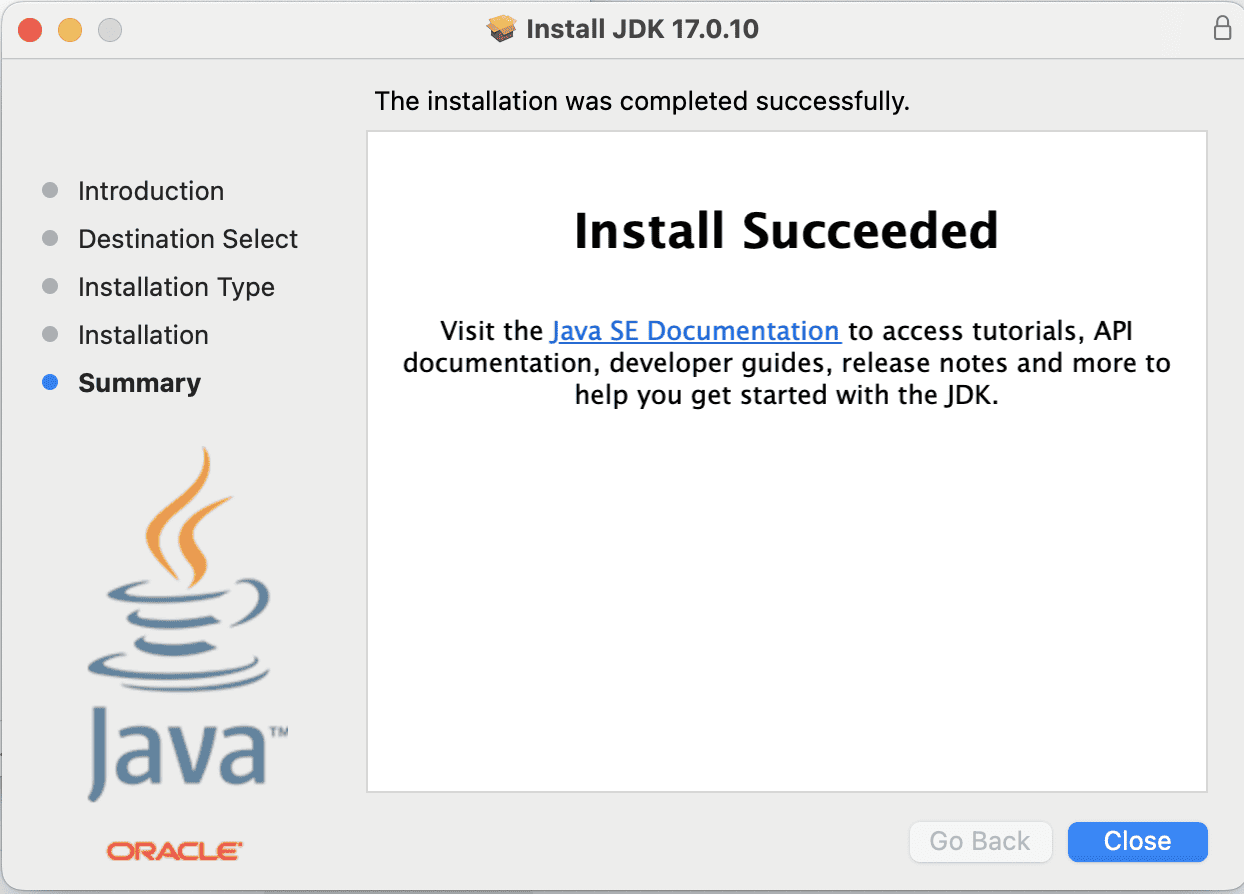
We’ve successfully installed Java on our Mac via the DMG package.
Finally, we need to run the below command to check the installed Java version:
% java -version
java version "17.0.10" 2024-01-16 LTS
Java(TM) SE Runtime Environment (build 17.0.10+11-LTS-240)
Java HotSpot(TM) 64-Bit Server VM (build 17.0.10+11-LTS-240, mixed mode, sharing)
On macOS, the default location for the java is /Library/Java/JavaVirtualMachines/jdk<version>.jdk/Contents/Home/, where <version> is the version number of the JDK we’ve installed.
Also, we can check the list of JDK versions installed, along with their corresponding version numbers and installation paths:
% /usr/libexec/java_home -V
Matching Java Virtual Machines (3):
    17.0.10 (x86_64) "Oracle Corporation" - "Java SE 17.0.10" /Library/Java/JavaVirtualMachines/jdk-17.jdk/Contents/Home
    11.0.12 (x86_64) "Oracle Corporation" - "Java SE 11.0.12" /Library/Java/JavaVirtualMachines/jdk-11.0.12.jdk/Contents/Home
    1.8.0_401 (x86_64) "Oracle Corporation" - "Java SE 8" /Library/Java/JavaVirtualMachines/jdk-1.8.jdk/Contents/Home
/Library/Java/JavaVirtualMachines/jdk-17.jdk/Contents/Home
3. Using Homebrew Package Manager
Another way to install Java is via the command line. To accomplish this, we can use Homebrew, a popular package manager for macOS.
Let’s see the steps for installing OpenJDK using Homebrew.
Before we start, first, let’s make sure Homebrew is installed and up-to-date:
% brew updateLet’s search the Homebrew formulae for OpenJDK:
% brew search openjdk
==> Formulae
openjdk ✔ openjdk@11 openjdk@17 ✔ openjdk@8 openj9 openjph openvdb
==> Casks
adoptopenjdk
We can see the details of these formulae for OpenJDK (the latest version) or any specific version like openjdk@17:
% brew info openjdk
or
% brew info openjdk@17
Next, we can install the latest version of Java or a specific LTS version. Let’s install the latest version:
% brew install openjdkIf want any specific version, for instance, OpenJDK 17, we need to run the following command instead:
% brew install openjdk@17The OpenJDK is installed in /usr/local/opt but not linked into places like /usr/local/bin or /Library/Java/JavaVirtualMachines/. So, we need to manually create a symbolic link:
% sudo ln -sfn /usr/local/opt/openjdk@17/libexec/openjdk.jdk /Library/Java/JavaVirtualMachines/openjdk-17.jdkFinally, let’s see how to check the installed Java version:
% java -version4. Conclusion
In this article, we explored different ways to install Java on our macOS machine. We can choose either installation via DMG or package managers like Homebrew. Also, once Java is installed, we can run a Hello World Java program and explore the Java language.


